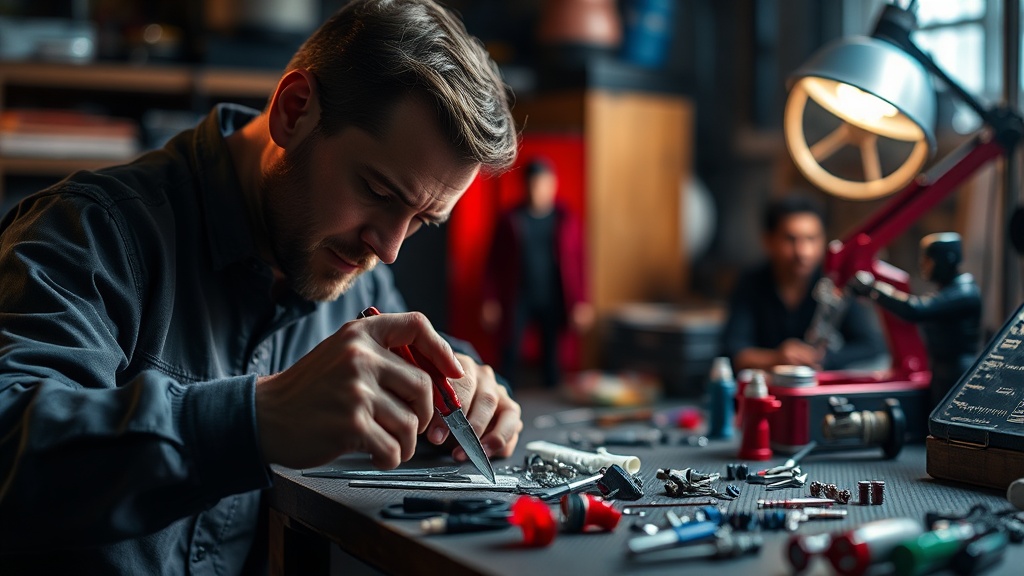
Restoring Your McFarlane Collection: Hands-On Repair Techniques for Collectors

What happens when a favorite figure breaks? Most collectors—a surprising 70%, according to informal community polls—will simply set it aside, resign it to a parts bin, or even discard it, believing that a broken piece means the end of its display life. Yet, many common issues with McFarlane Toys figures, from snapped accessories to loose joints and chipped paint, are entirely fixable with a little patience and the right tools. This guide will walk you through practical, accessible techniques for mending your beloved figures, helping you preserve their value, extend their lifespan, and keep them commanding attention in your collection.
We’re not talking about museum-grade restoration here. This is about enabling you with the knowledge to tackle those frustrating nicks, breaks, and wobbly bits that can diminish the enjoyment of your figures. Whether it's a battle-damaged cape or a character whose arm decided to go on strike, learning these repair basics means you can keep your collection looking its best without costly professional intervention.
What are the most common points of breakage in McFarlane figures?
Understanding where figures tend to fail is the first step toward effective repair. McFarlane figures, known for their intricate sculpts and dynamic posing, often push the boundaries of plastic engineering. This can, unfortunately, lead to certain vulnerabilities:
- Joint Breakages: Knees, elbows, and ankles are frequent culprits. The smaller, thinner sections of plastic that form pins or ball joints can succumb to stress during posing, especially if the plastic is stiff or cold. The initial ‘unsticking’ of a new figure’s joint can also sometimes lead to a snap if not done carefully.
- Accessory Pegs and Ports: Many figures come with an array of weapons, shields, or other gear designed to peg into hands, backs, or bases. These thin pegs are prone to snapping, particularly if forced or if the port is too tight.
- Weapon and Prop Snaps: Long, slender weapons—swords, staffs, gun barrels—can break due under stress or accidental drops. Sometimes, the material itself can be brittle.
- Flexible Part Tears: Capes, cloaks, and other soft plastic elements can tear where they attach to the figure’s body, especially if they’re pulled or flexed repeatedly beyond their design limits.
- Paint Rubs and Chips: While not a structural break, paint damage significantly impacts a figure's aesthetic. High-contact areas, sharp edges, and moving parts are most susceptible to paint loss, exposing the base plastic underneath.
These issues often stem from a combination of material properties, design tolerances, and handling habits. Recognizing these patterns helps in both prevention and, crucially, in planning your repair approach.
How can I reattach a broken limb or accessory?
Reattaching parts is perhaps the most common repair task. The method you choose depends heavily on the type of break and the material involved.
Reattaching Clean Breaks (Plastic Cement and Super Glue)
For clean, planar breaks—where two pieces fit together perfectly with minimal loss of material—adhesives are your best friend.
Materials You'll Need:
- Plastic Cement: Specifically designed to chemically bond styrene-based plastics by melting and fusing them together. It’s ideal for figures made from hard ABS plastic, creating a very strong, permanent weld. Brands like Tamiya Plastic Cement are highly regarded for their precision applicators and reliable bond (