Lighting Techniques for Maximum Figure Presence

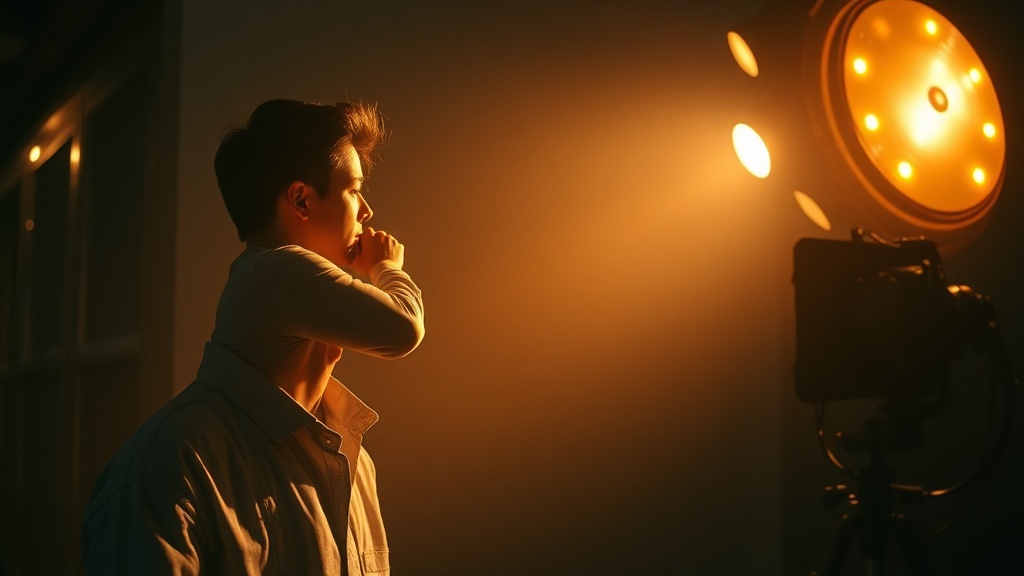
A single spotlight hits a McFarlane Toys Spawn figure, catching the jagged edge of a weathered cape and casting a deep, dramatic shadow across the base. The light isn't just illuminating the plastic; it's telling a story of grit and texture. Most collectors settle for overhead room lights or a basic desk lamp, but that's a mistake. If you want your display to look like a professional museum piece rather than a shelf of plastic toys, you have to master light placement. This guide breaks down how to use light to highlight sculpt-heavy details, manage glare, and create depth in your collection.
What is the Best Lighting for Toy Photography and Displays?
The best lighting for toy displays is a multi-layered setup involving a primary light source, a fill light, and a back-light to create depth. Relying on a single overhead light creates flat, uninteresting shadows that make even the most detailed sculpt look two-dimensional. Instead, try using small, directional LED lights to control exactly where the light hits the figure.
When you're working with highly textured figures—like the highly detailed Spawn characters from McFarlane Toys—the light needs to graze the surface. This is called "grazing light." If the light hits the figure straight on, it washes out the shadows that define the muscles, the fabric folds, and the facial features. You want the light to come from an angle. This creates high-contrast shadows that make the sculpt pop.
LEDs are your best friend here. They don't produce much heat, which is a huge deal if you have figures in sensitive packaging or near heat-sensitive paint. Unlike old-school incandescent bulbs, LEDs stay cool. (And trust me, you don't want to melt a custom paint job or warp a delicate piece of a display stand.)
Types of Light Sources for Collectors
- LED Strips: Great for general shelf illumination and consistent brightness.
- Ring Lights: Excellent for macro photography to ensure even light around a face.
- Spotlight LEDs: Perfect for creating a "hero" shot for a single figure.
- RGB Light Bars: Use these if you want to change the "mood" of a scene with color.
If you've spent time building a custom display shelf for your collection, you've likely already thought about how to hide these lights. The goal is to see the light's effect, not the light source itself.
How Do I Prevent Glare on Plastic Figures?
Preventing glare requires a combination of controlling your light angle and choosing the right light diffusion tools. Most collector-grade figures have a certain level of gloss or semi-gloss finish that reflects light directly into your eyes or camera lens, creating those distracting white "hot spots."
The first rule is to avoid "hard" light. A hard light is a direct, unobstructed beam that creates sharp edges and bright reflections. To fix this, use a diffuser. A diffuser is anything that scatters the light rays before they hit the figure. You can use a piece of translucent white parchment paper, a thin piece of white fabric, or even a dedicated plastic diffusion sheet. This softens the light, making the transitions between light and shadow much smoother.
Another trick is the "off-axis" method. Never point your light source directly at the center of the figure's chest or face. Instead, angle your lights slightly to the sides. This keeps the brightest part of the light away from the lens's line of sight. If you're photographing a figure with a high-gloss finish, even a tiny bit of light can turn a professional photo into a messy, reflective disaster.
| Lighting Goal | Technique | Best Tool |
|---|---|---|
| Dramatic/Moody | Low-key lighting (high contrast) | Single directional LED |
| Clean/Commercial | High-key lighting (soft shadows) | Light box or Diffusion sheet |
| Depth/Dimension | Rim lighting (backlighting) | Small RGB light bar |
How Can I Use Color to Enhance My Display?
Color temperature and colored light sources can change the entire vibe of your collection. Warm light (yellow/orange) feels cozy and nostalgic, while cool light (blue/white) feels modern, sterile, or even eerie. Most collectors use color to match the theme of the character they are displaying.
If you have a character with a dark, gritty theme, a subtle blue or deep red backlight can add a lot of tension. This isn't just about making things look "cool"—it's about setting a scene. For example, if you're displaying a character from a sci-fi line, a cool white or light blue light can mimic the look of a spaceship interior. If you're displaying a fantasy-themed figure, a warm, amber light can mimic candlelight.
Be careful with color saturation, though. If you go too heavy on a single color, you might lose the actual color of the figure's paint job. You want the light to complement the figure, not fight it. A good rule of thumb is to use a neutral white light for your main source and then use colored light for the accents. This ensures the figure's actual paint colors remain accurate.
"The difference between a shelf of toys and a curated collection is often just the way the light hits the eyes of the figure."
If you've noticed that your figures look a bit dull under your current setup, it might be because you're not accounting for the texture. A matte figure absorbs light, while a metallic or glossy figure reflects it. You'll need to adjust your approach for each. For instance, if you're worried about the long-term look of your figures, make sure you aren't letting light sit on them too intensely, which can occasionally lead to color fading over years of exposure. You can check more about material safety on official environmental sites regarding UV exposure if you're worried about sunlight damage.
One thing to watch out for is the "shadow gap." This happens when your light is too far away or too weak to reach the crevices of the sculpt. If you see a huge black void where a muscle or a piece of armor should be, move your light closer or increase the intensity. You want the shadows to be visible, but you don't want them to swallow the detail entirely. It's a fine line to walk.
Don't forget the importance of the background. A cluttered background with many light sources will distract from your main subject. A clean, dark background is usually the safest bet. It allows the light on the figure to be the star of the show. If you're displaying figures in a glass case, be aware that the glass itself can create unwanted reflections. You'll need to position your lights so they hit the figure, not the glass door. It's a constant process of tweaking and moving things by millimeters until it looks just right.
Sometimes, the best way to find the right light is to turn everything off and start with one light. Add the second. Then the third. If you try to manage five lights at once, you'll just end up frustrated. Take your time. The best displays are built one light source at a time.